The ROG lineup is probably offering the best gaming smartphones as of now. Then the likes of Qualcomm Snapdragon 865+ chipset, up to 16GB RAM, 144Hz refresh rate, and 6000mAh makes sure that remains a performance beast in the long run. Well, that’s not it. It is quite an active player in the custom development market as well. A plethora of tweaks and mods are already lined up for it. Not to mention the fact that you could also install the TWRP Custom Recovery or root your device via Magisk. But this is just one side of the coin. No doubt these tweaks do bring in a plethora of goodies, but on the flip side, they could prove to be quite risky as well. Talking about the worst-case scenario, your device might end up in a hard-bricked state. But since it boasts of a Qualcomm chipset, you could easily bring it back to life via the EDL Mode. And in this guide, we will show you how to do just that. So without further ado, let’s get started with the guide to unbrick a hard-bricked Asus ROG Phone 3 device via EDL Mode.
Unbrick Hard Bricked Asus ROG Phone 3 via EDL Mode
The below instructions are listed under separate sections for ease of understanding. Make sure to follow in the exact same sequence as mentioned. Droidwin and its members wouldn’t be held responsible in case of a thermonuclear war, your alarm doesn’t wake you up, or if anything happens to your device and data by performing the below steps.
STEP 1: Download Asus ROG Phone 3 Unbrick Tool
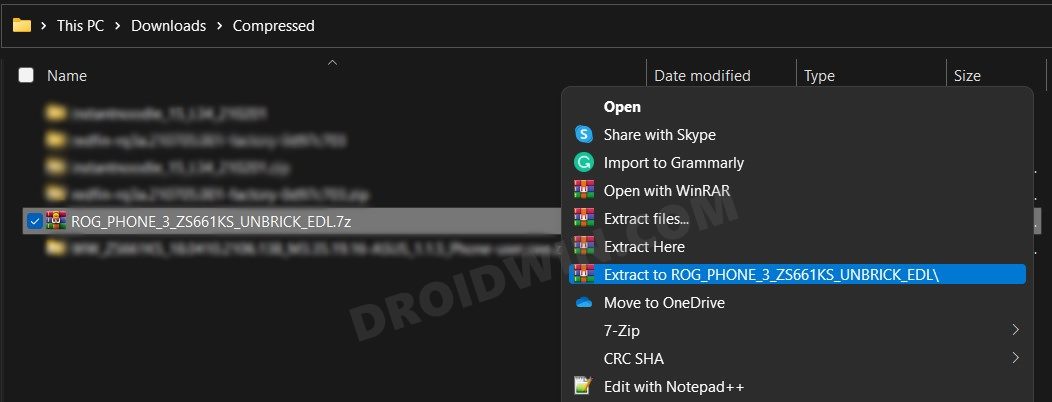
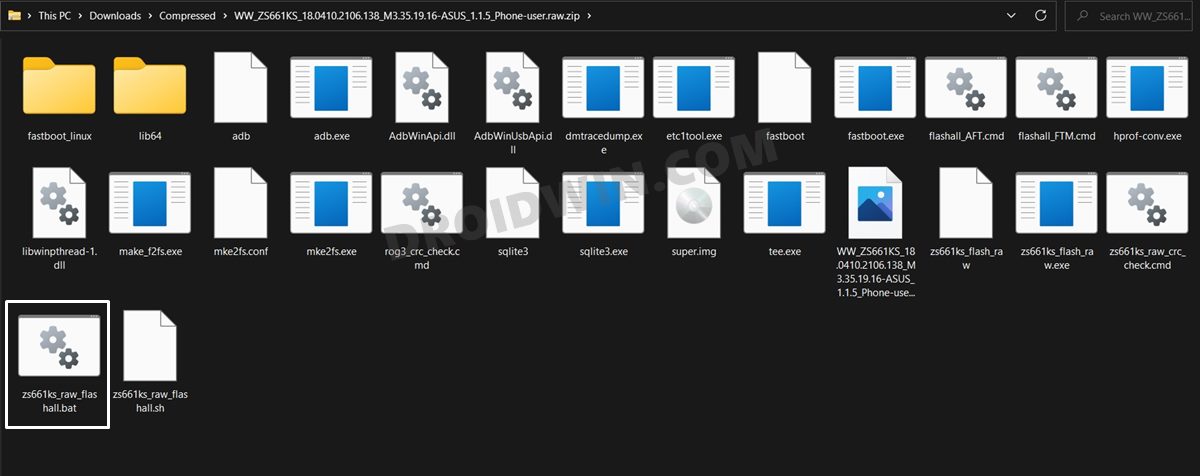
To begin with, download the Asus ROG Phone 3 Unbrick Tool. [Credits: XDA Senior Member deadlyindian]. Once downloaded, extract it to any convenient location on your PC.
STEP 2: Boot Asus ROG Phone 3 to EDL Mode
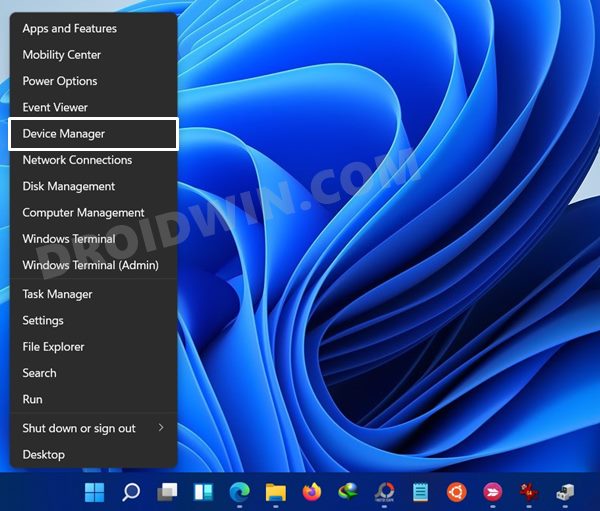
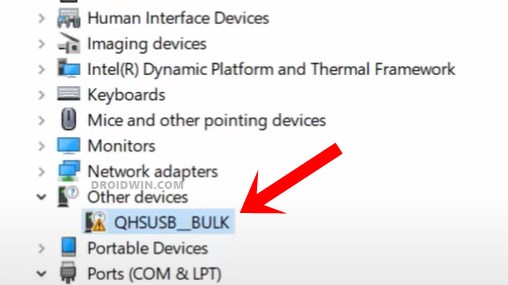
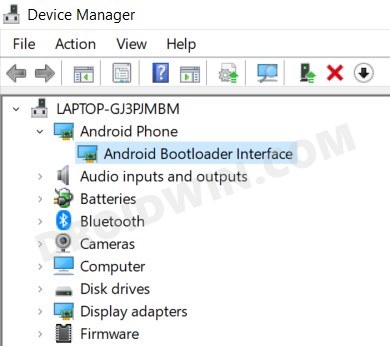
You will now have to boot your Asus ROG Phone 3 to the Emergency Download Mode. Here’s how:
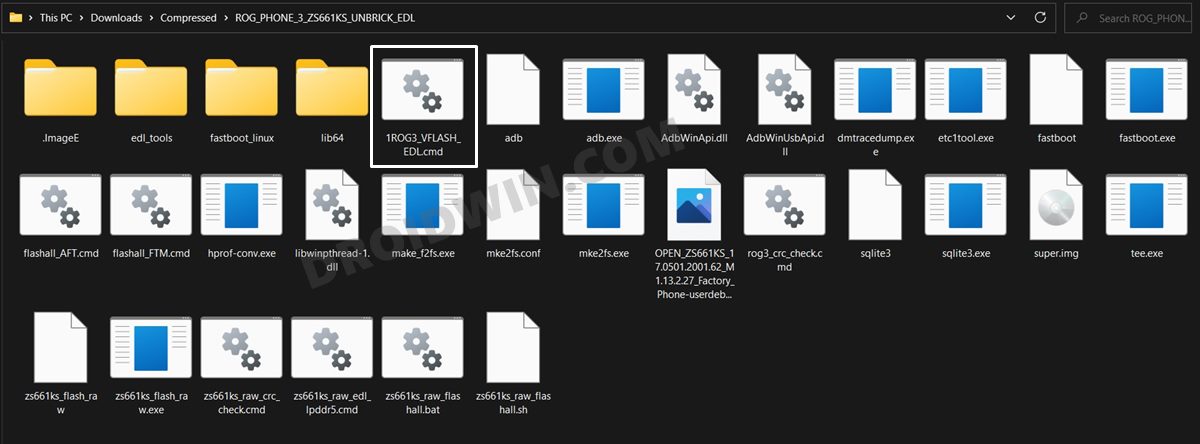
STEP 3: Unbrick Asus ROG Phone 3
STEP 4: Download Asus ROG Phone 3 RAW Firmware
Now that your device is booted to Fastboot, you may flash the RAW firmware and bring your device back to life. For that, you should first grab the firmware file corresponding to your device’s region and Android version from below [Credits: XDA Senior Member deadlyindian]:
Android 11 RAW Firmware
18.0410.2106.138 : WW18.0410.2105.133 : WW
Android 10 RAW Firmware
17.0823.2104.147 : WW17.0823.2102.143 : WW17.0823.2012.131 : WW17.0823.2012.122 : WW17.0823.2009.99/100 : WW | CN17.0823.2009.98 : WW | CN17.0823.2008.78 : WW | CN17.0823.2007.58 : WW | CN17.0823.2007.47/48 : WW | CN17.0823.2007.32 : WW | CN
STEP 5: Flash RAW Firmware on Asus ROG Phone 3
So with this, we round off the guide on how you could unbrick your hard-bricked Asus ROG Phone 3 device via EDL Mode. If you have any queries concerning the aforementioned steps, do let us know in the comments. We will get back to you with a solution at the earliest.
How to Root Asus ROG Phone 3 via Magisk without TWRPAsus ROG Phone 3: Install TWRP Recovery | Root via MagiskUnbrick Asus ROG Phone 3 via Fastboot Commands
About Chief Editor