Apart from that, the OEM offers updates for a limited time frame, before the device reaches the EOL stage. Fortunately, there is a one-stop solution to all these issues- welcome abode a custom ROM onto your device! In this regard, there are a plentitude of AOSP-based ROMs that you could try out, with the likes of Lineage, Pixel Experience, and crDroid being just some of the noteworthy players in this domain. And that’s just not it. You could even add tons of additional goodies by gaining administrative privileges by rooting your custom ROM via Magisk. And in this guide, we will show you how to do just that. Follow along.
Benefits and Risks of Rooting Custom ROM via Magisk
Once you root your device, you will be in a position to flash a plethora of mods. These include the likes of Fox Magisk Modules, Substratum Themes, Xposed Framework via LSPosed, and Viper4Android among others. Along the same lines, you could also flash a custom kernel and implement your desired CPU profile. However, such tweaks do come with a few risks as well.
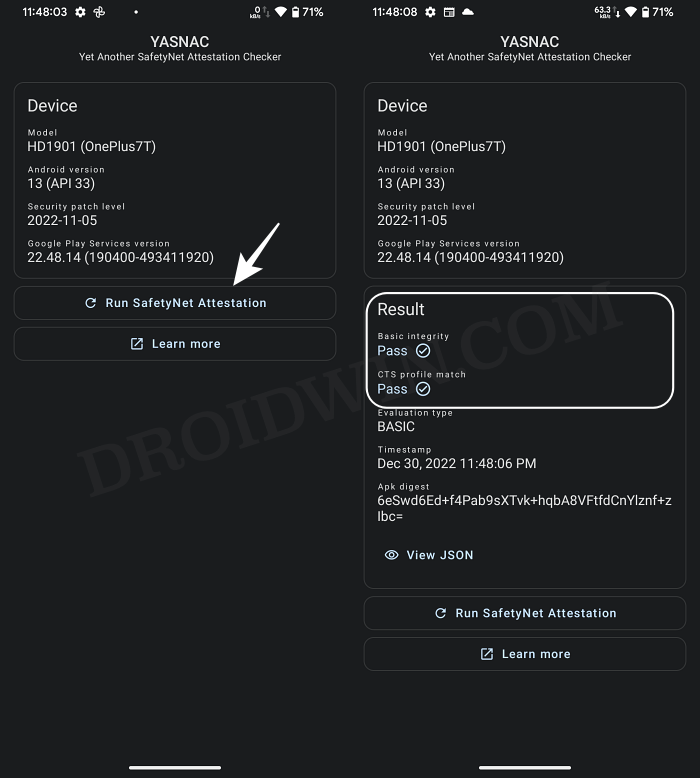
To begin with, rooting requires you to unlock the bootloader- which will wipe off all the data and could nullify the warranty as well. Likewise, SafetyNet will be triggered [FIXED] which will result in your inability to use banking apps [FIXED]. So if all that’s well and good, then let’s get started with the steps to root your custom ROM via Magisk.
How to Root any Custom ROM by Sideloading Magisk
The steps are applicable across most AOSP-based ROMs, including the likes of Lineage, Pixel Experience, crDroid, Xtended XT, Project Elixir, Nitrogen, and Evolution X [Exception: on my OnePlus 7T, rooting Derpfest ROM wasn’t possible via this first method and I had to use the second method given below to get the job done]. Moreover, while the process will not wipe off data, it is still recommended to be on the safer side and take a complete device backup beforehand. Droidwin and its members wouldn’t be held responsible in case of a thermonuclear war, your alarm doesn’t wake you up, or if anything happens to your device and data by performing the below steps. NOTE: If your custom ROM supports rooting via the below method [Magisk Sideload], then you could also try out another method of rooting- by temporarily booting your device to TWRP and then flashing the Magisk APK! If you are interested in that method, then do check out our guide on How to Flash Magisk APK via TWRP Recovery [Video].
STEP 1: Install Android SDK
First and foremost, you will have to install the Android SDK Platform Tools on your PC. This is the official ADB and Fastboot binary provided by Google and is the only recommended one. So download it and then extract it to any convenient location on your PC. Doing so will give you the platform tools folder, which will be used throughout this guide.
STEP 2: Enable USB Debugging
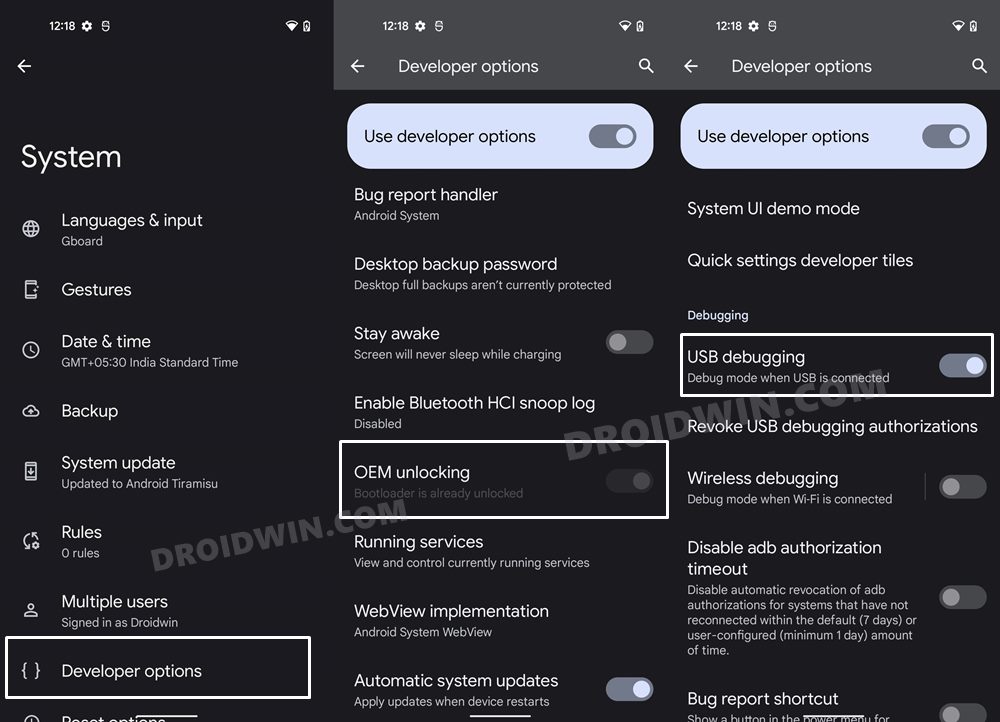
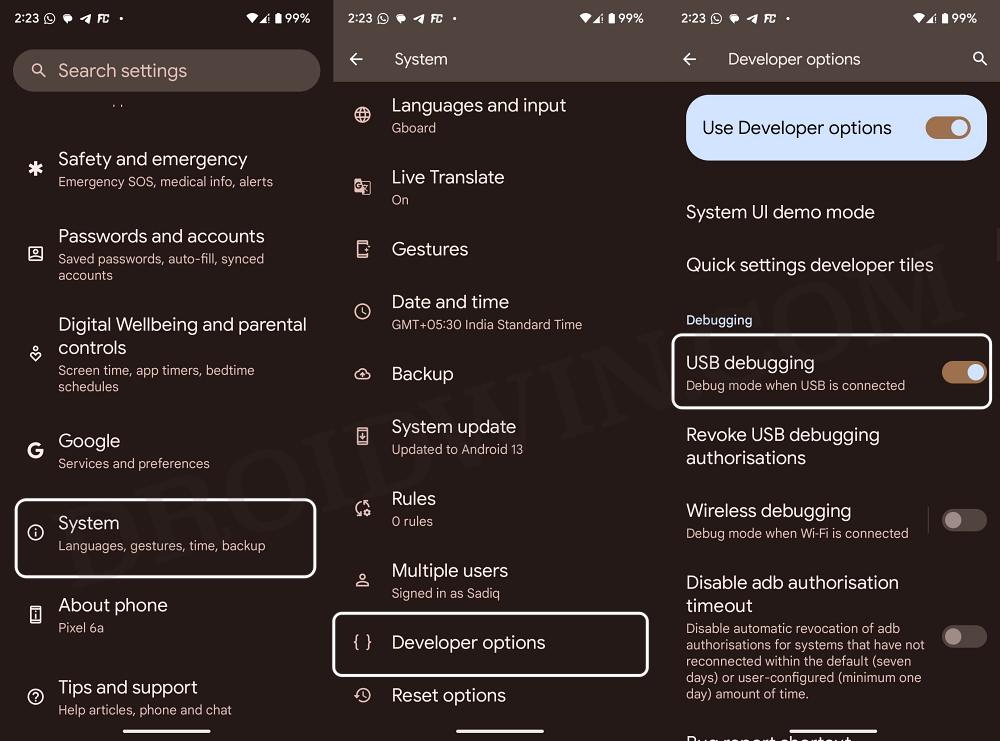
Next up, you will have to enable USB Debugging so as to make your device recognizable by the PC in ADB mode. So head over to Settings > About Phone > Tap on Build Number 7 times > Go back to Settings > System > Advanced > Developer Options > Enable USB Debugging.
STEP 3: Download Magisk
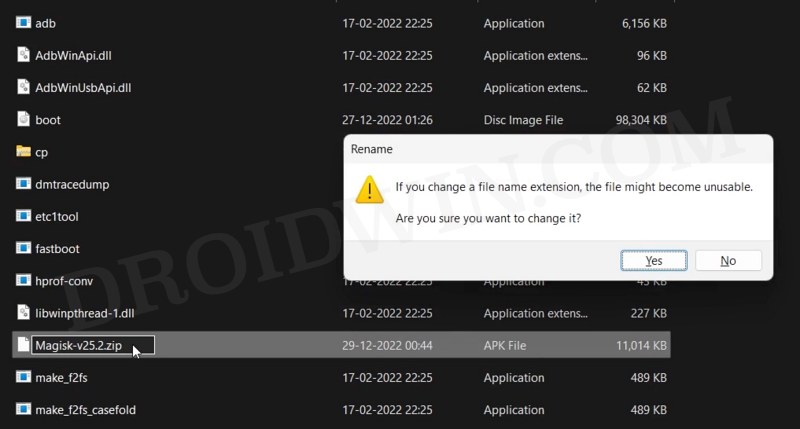
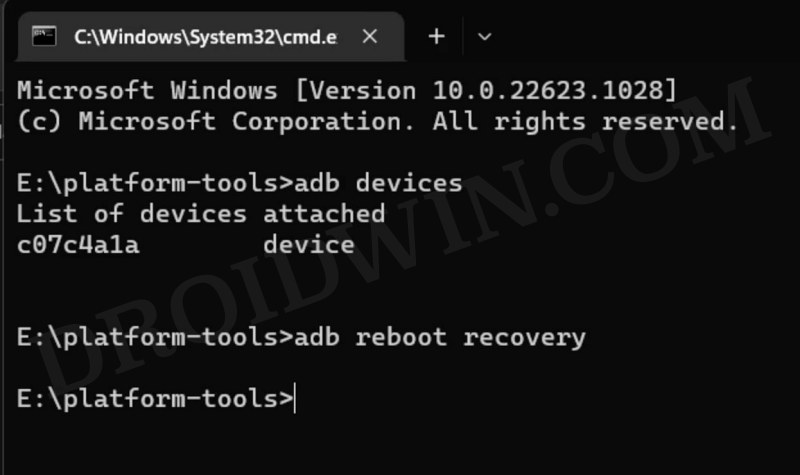
STEP 4: Boot to Recovery
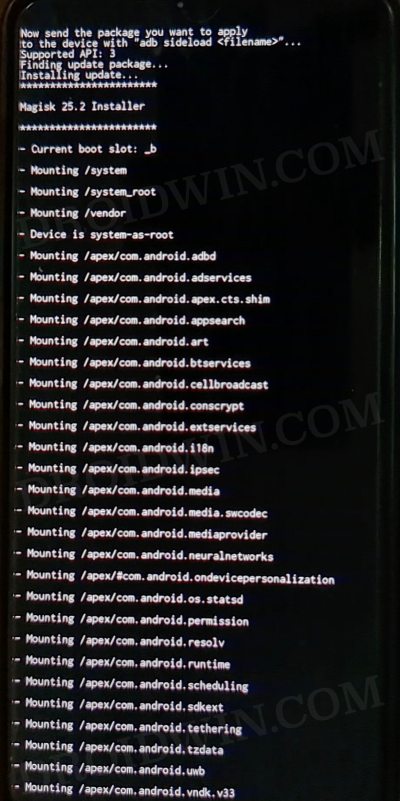
STEP 5: Sideload Magisk via Recovery
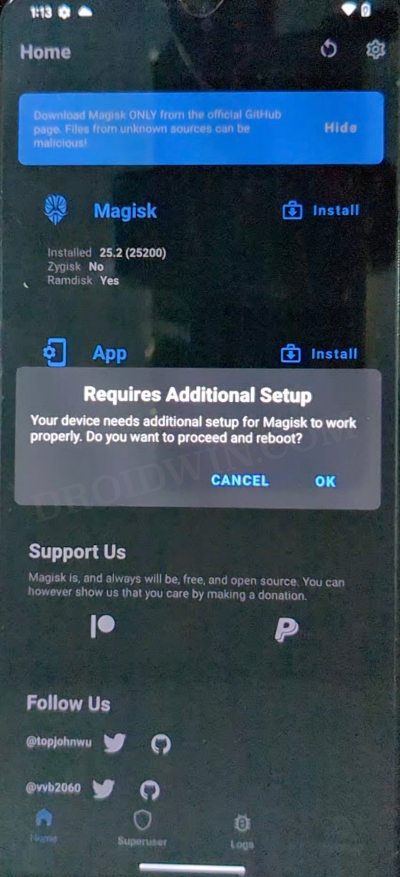
STEP 6: Install Magisk
That’s it. These were the steps to root the Custom ROM via Magisk. If you have any queries concerning the aforementioned steps, do let us know in the comments. We will get back to you with a solution at the earliest.
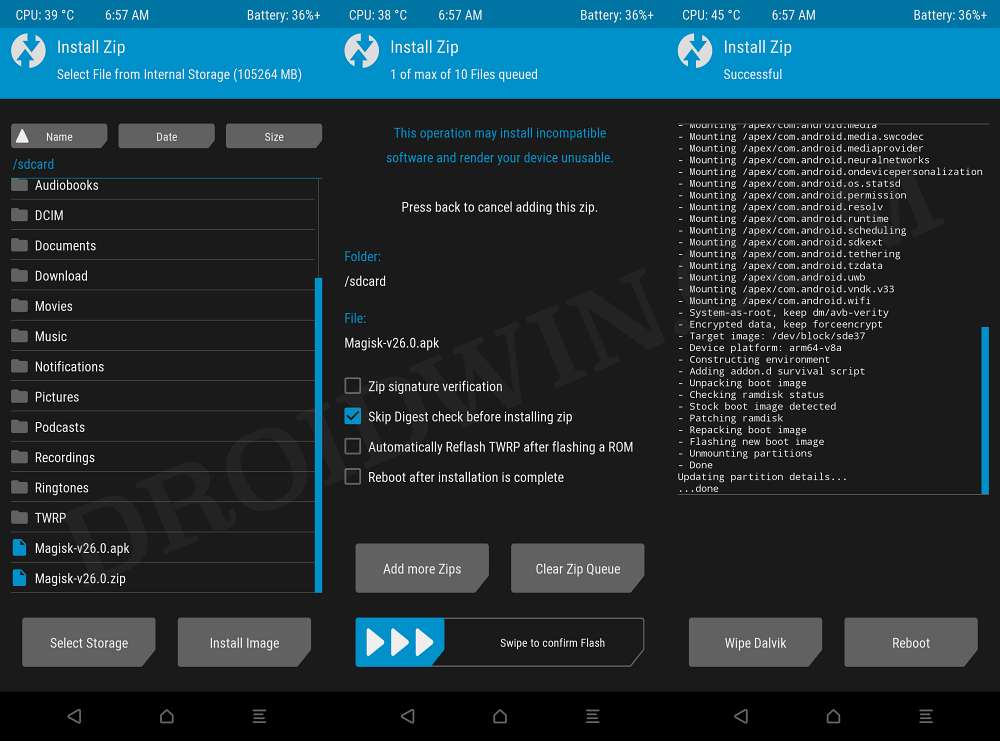
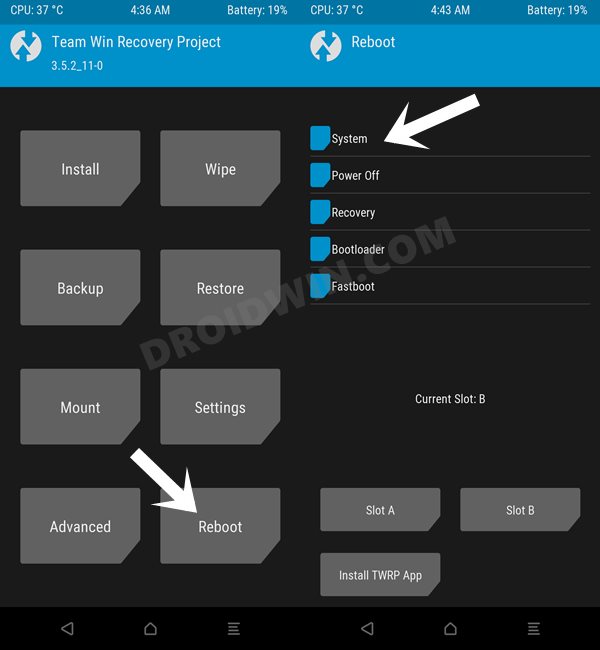
Root any Custom ROM via TWRP
Some AOSP Recoveries don’t give you the option to sideload unsigned ZIP files. You’ll get a Signature Verification Failed and that’s just about it. You wouldn’t be given any option to proceed ahead with the sideload. In such cases, you could either refer to the lengthier approach given in the next section or temporarily take the help of TWRP, which is what we will be doing now. Follow along.
Root any Custom ROM via Magisk Patched Boot
This is the lengthier of the two approaches and should be tried out if the aforementioned method didn’t work out [For example, on my OnePlus 7T, rooting Derpfest ROM wasn’t possible via the first method and I had to use this second method to get the job done].
STEP 1: Install Android SDK
First and foremost, you will have to install the Android SDK Platform Tools on your PC. This is the official ADB and Fastboot binary provided by Google and is the only recommended one. So download it and then extract it to any convenient location on your PC. Doing so will give you the platform tools folder, which will be used throughout this guide.
STEP 2: Enable USB Debugging
Next up, you will have to enable USB Debugging so as to make your device recognizable by the PC in ADB mode. So head over to Settings > About Phone > Tap on Build Number 7 times > Go back to Settings > System > Advanced > Developer Options > Enable USB Debugging.
STEP 3: Extract Custom ROM Boot.img
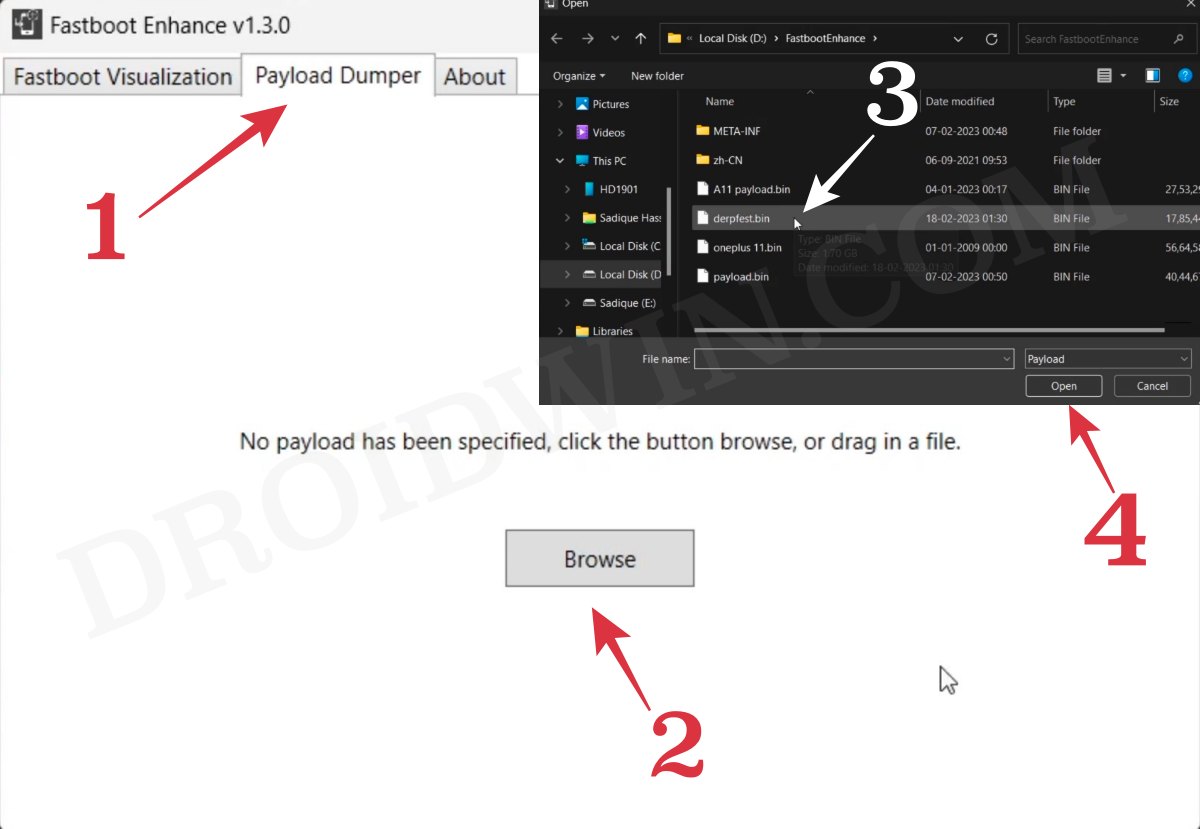
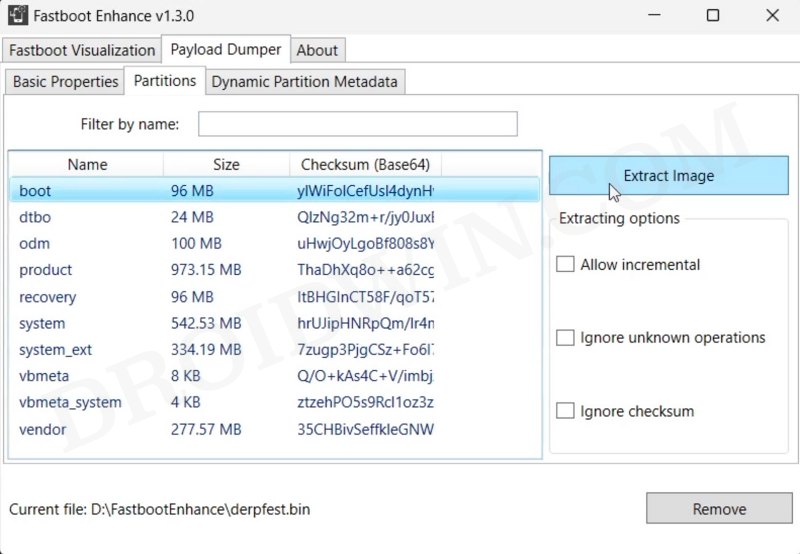
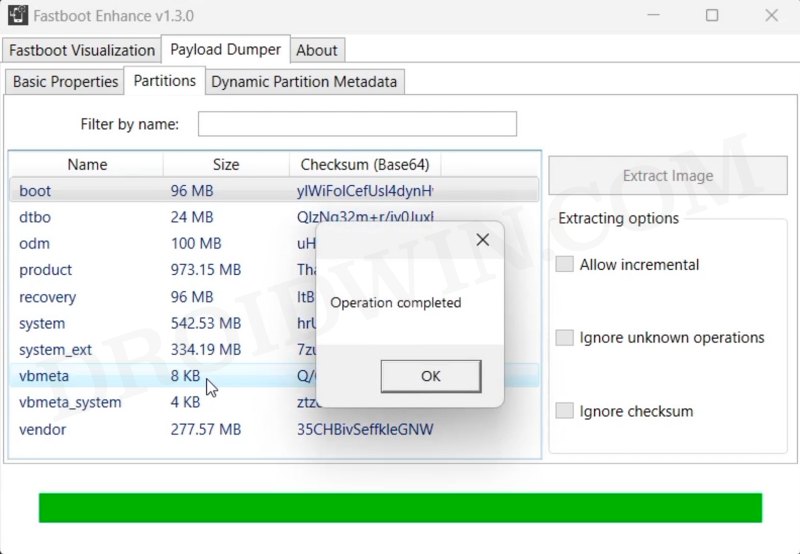
First off, you will have to extract the custom ROM’s boot.img file. If the ROM is simply in a ZIP file, then the extraction could be done via WinZIP/WinRAR. On the other hand, if it is in a BIN format, then you will have to use the Fastboot Enhance Tool for extraction, as shown below:
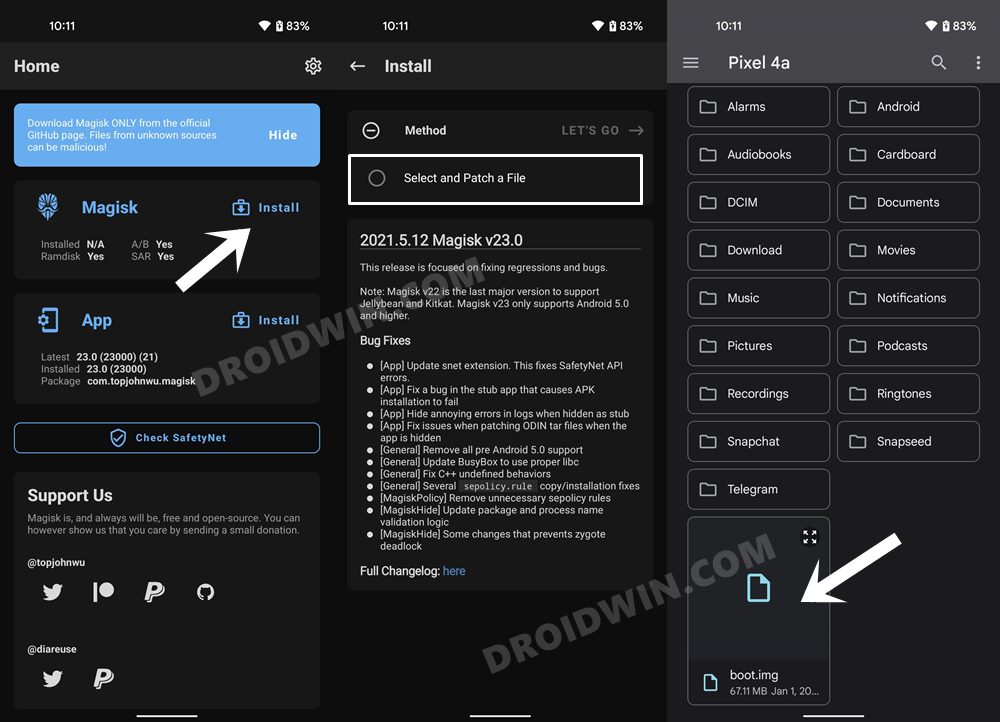
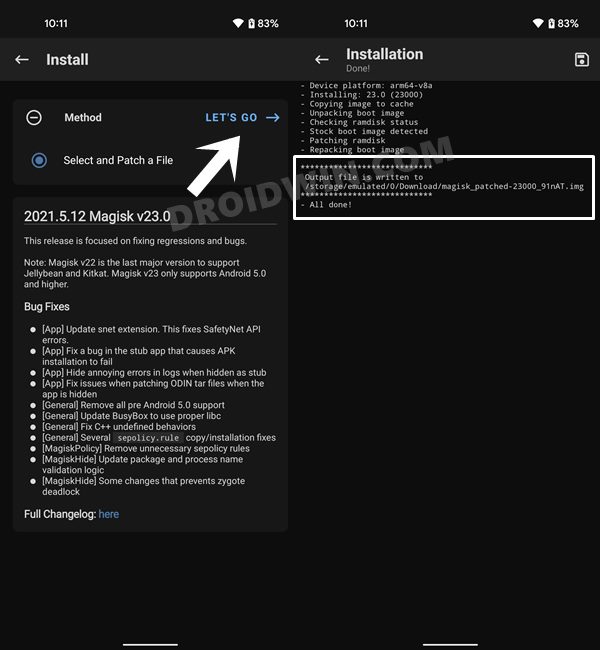
STEP 4: Patch Stock Boot.img via Magisk
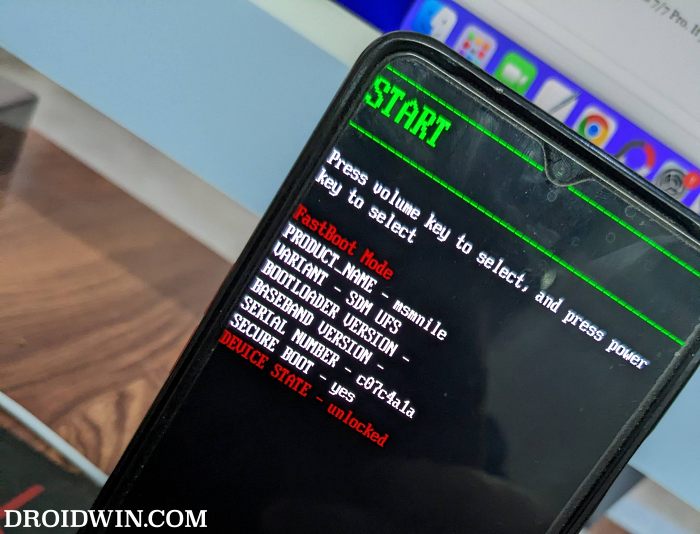
STEP 5: Boot Device to Fastboot Mode
STEP 6: Boot Device using Magisk Patched Boot.img
On the other hand, if things don’t go as planned and your device ends up in a bootloop/ softbrick, then just a normal reboot will fix the issue. So on that note, let’s get started with the second approach. For that, execute the below command in the CMD window and your device will be booted to a temporarily rooted OS.
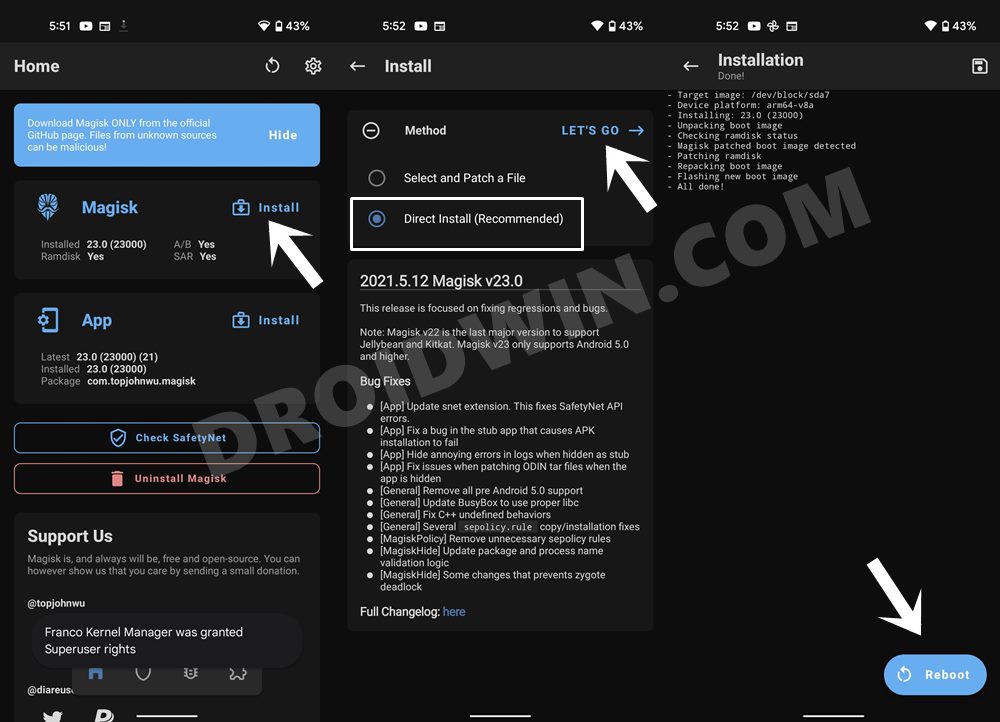
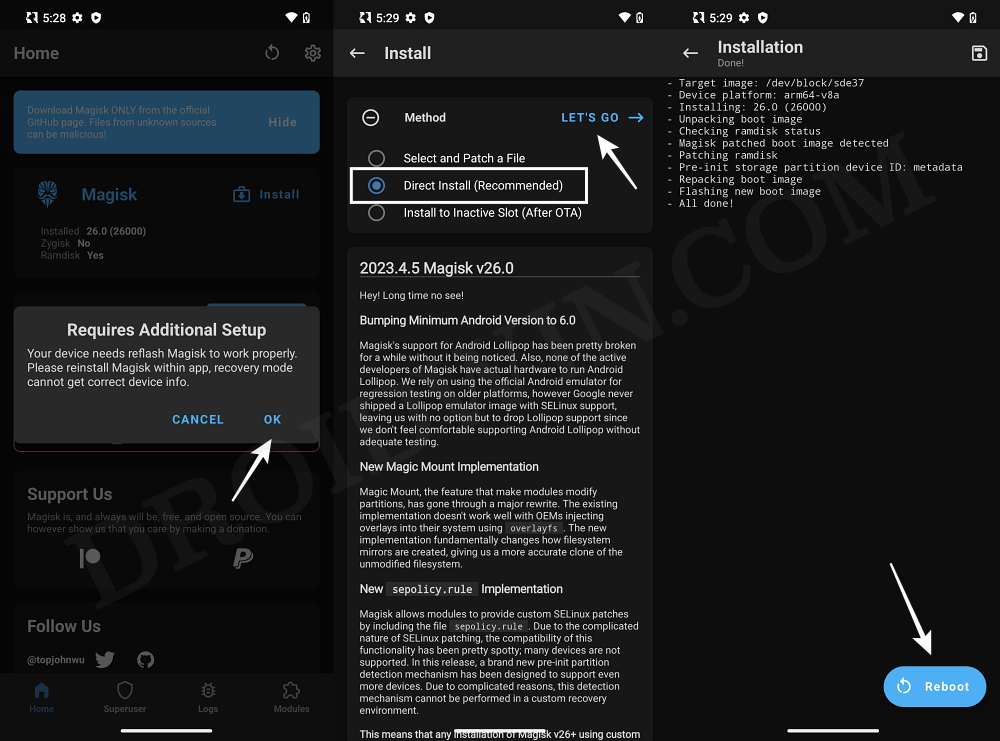
STEP 7: Permanent Root Custom ROM via Magisk Direct Install
After executing the above command, your device will be booted to the OS with a temporary root. Here’s how to make it permanent: This was the second method to root any custom ROM via Magisk Patched Boot.img. If you have any queries concerning the aforementioned steps, do let us know in the comments. We will get back to you with a solution at the earliest. While the aforementioned steps should be sufficient enough to get the job done, but you could also refer to the below ROM-specific guides and their associated videos to obtain root. We will be adding more ROMs to this list, so do keep a tab on this section at regular intervals:
How to Root Derpfest ROM via Magisk [Video]How to Root crDroid ROM via Magisk [Video]Root Project Elixir ROM Android 13 via Magisk [Video]How to Root Pixel Experience ROM via Magisk [Video]How to Root LineageOS ROM via Magisk Boot [Video]
About Chief Editor







![]()

