So what else could be done? Well, we could tweak the metric of each of these connections and assign the top priority to the preferred WiFi. For the unaware, each network adapter on our PC has been assigned a numerical value by the system. These value mainly depends on three parameters, namely speed, the number of hops it takes to reach that specific destination, and the Delay time. Taking these three parameters into consideration, all your adapters are assigned a metric. So the one with the lowest is considered the best (similar to the ranking system). And the OS molds its decision based on this metric itself. So in my case, the WiFi which was farther from my PC had a lower metric value and hence the system always tried connecting to it first. Fortunately, the system also gives us an option to manually tweak this metric. And this is what I did to rectify this problem. I assigned a higher metric value to the farther network and a lower value to the nearer one. S0 before connecting to the network, the OS would first check the metric value, since the preferred one will now have a lower value, it will always give it the first preference. As a result, I could still have both the WiFi saved on my PC and at the same time, also connect to the network one of my choice. If you are also planning to do something along the same lines, then this guide shall come in handy. In this tutorial, we will show you various methods to change the WiFi priority in Windows 11.
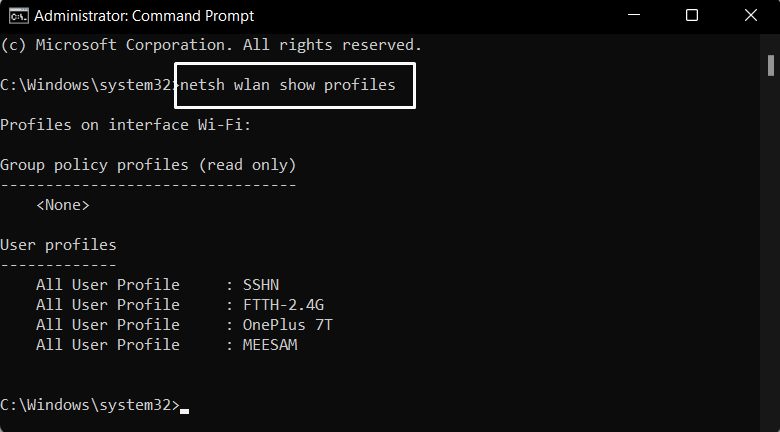
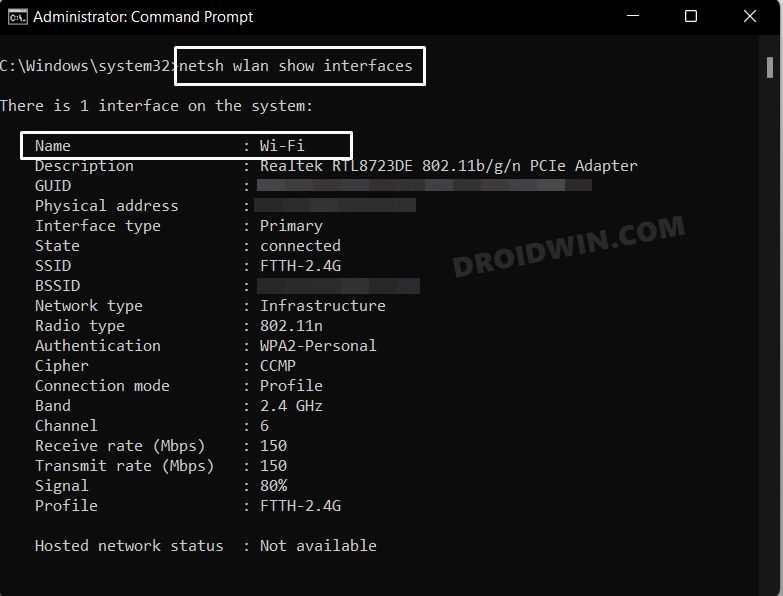
How to Change WiFi Priority in Windows 11
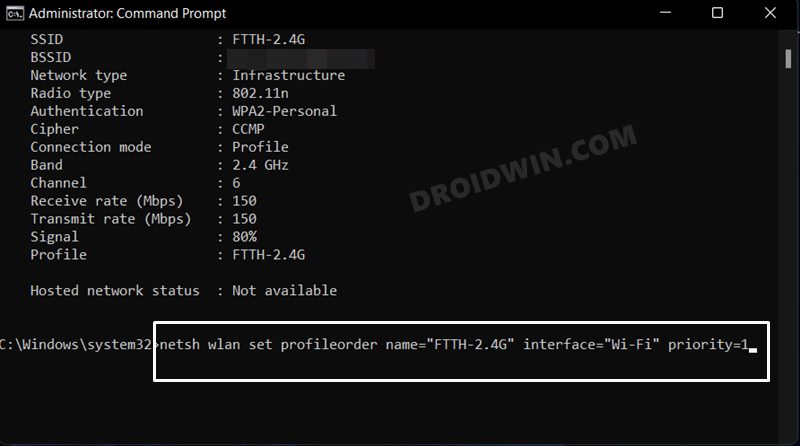
With this, your desired network has now been given the top-most priority. You may now assign/change the priority of other WiFi networks on your Windows 11 PC as well, just make sure that two networks don’t end up having the same priority.
Is there any other way to do this?
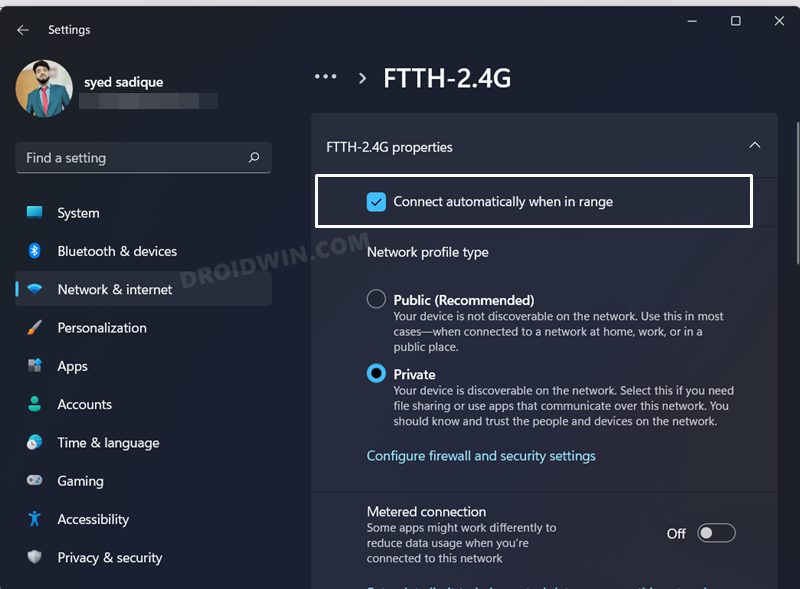
If you don’t prefer to deal it the CMD window, then there are a couple of other methods to carry out this task, though the mileage might vary. The closest that we could get to emulate the Command Prompt method’s efficiency is by enabling the “Connect automatically when in range” option for the preferred WiFi and then disabling this feature for all the other WiFis. So when you are nearby 3-4 saved WiFi networks, then your PC will only connect to the preferred one, since this is the only one that has the Connect automatically feature enabled. On that note, we will show you how to do this task from the Settings menu. For a shorter approach, you could also try out the Wlan10 v1.1.2 app from GitHub. So these were the instructions to change the WiFi priority in Windows 11. We have listed three different methods to carry out the said task- via CMD, Settings, and third-party app. If you have any queries concerning the aforementioned steps, do let us know in the comments. We will get back to you with a solution at the earliest.
How to Change Network Priority in Windows 11How to Enable or Disable Network Adapters in Windows 11Uninstall Apps using Command Prompt (CMD) or Powershell in Windows 11How to Change Priority of an App in Windows 11
About Chief Editor