The same could be applied here as well. Imagine booting up the screen with hundreds of lines of codes in Matrix-style running continuously. Or incorporating the Linux logo to the startup screen would surely give your device a tech geek look. All in all, there are a plethora of reasons why you would want to change that boring, dull and monotonous boot animation on your Android device. So with that in mind, let’s start off with this guide.
How to Change Boot Animation on Android Phones
The entire instructions have been listed out in separate sections for ease of understanding. Proceed ahead in the exact same sequence as mentioned. They might not be able to function along the expected lines in Samsung Phones and in some heavily customized Android ROMs. Furthermore, you are ready to try it out, then make sure to take a backup beforehand. Droidwin and its members wouldn’t be held responsible in case of a thermonuclear war, your alarm doesn’t wake you up, or if anything happens to your device and data by performing the below steps.
STEP 1: Root your Android Phone
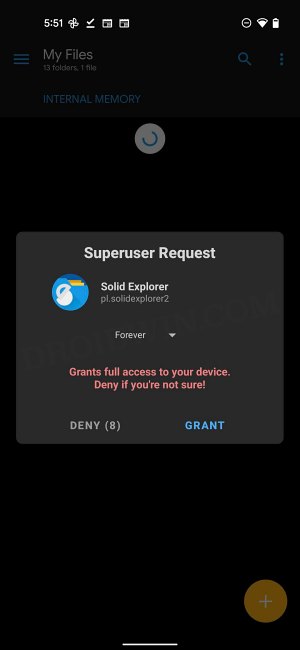
The first requirement to carry out this task is that you will need a rooted device. This is because the stock boot animation that we are going to change is placed in the system partition of your device. To access this partition, you would need administrative-level privileges. So before moving ahead, make sure to root your device via our guide: How to Root Android 13 via Magisk Patched Init_Boot/Boot.
STEP 2: Download the Custom Boot Animations
Next up, you will have to grab hold of your preferred boot animation. For that, this XDA post (credit: XDA senior member mauam) might come in handy as it has a plethora of boot animations (over 200!) spread across various domains. It is definitely worth a checkout. Once you have got the desired boot animation, it’s time to install it onto your Android device. Follow along.
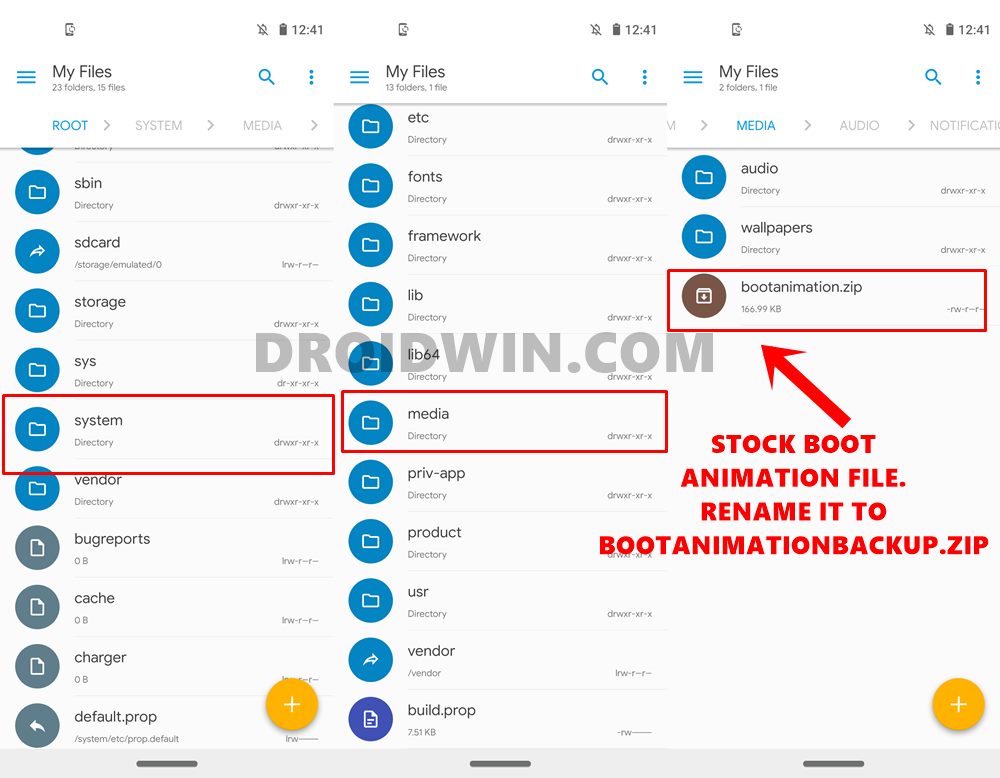
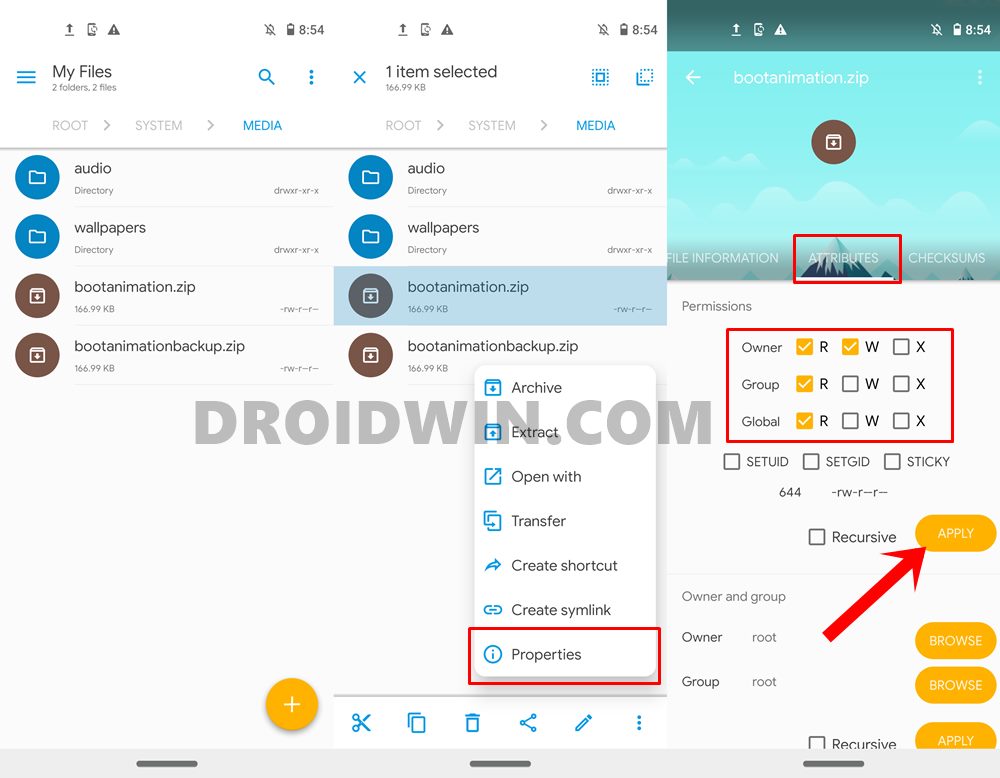
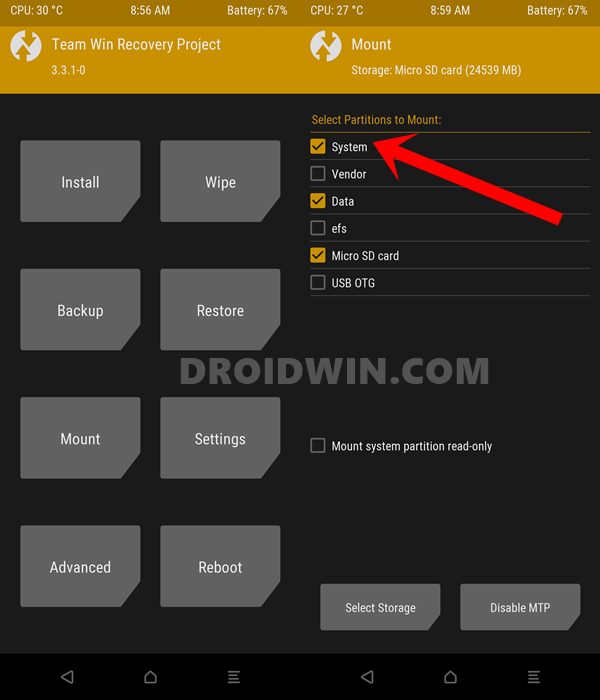
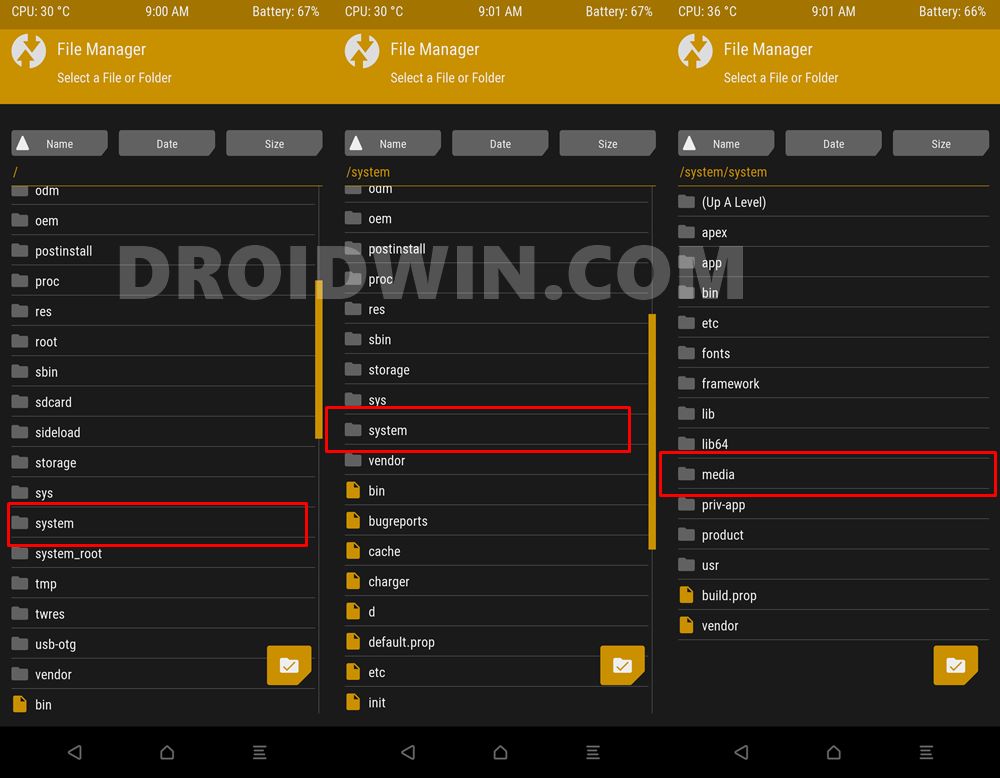
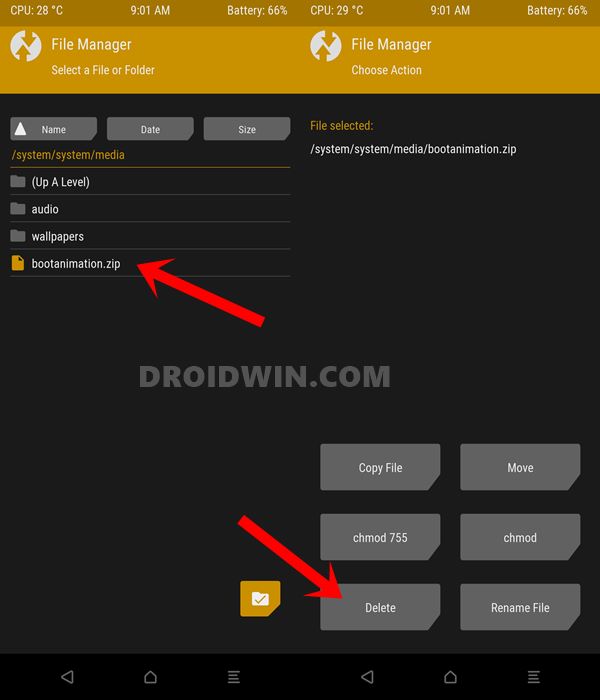
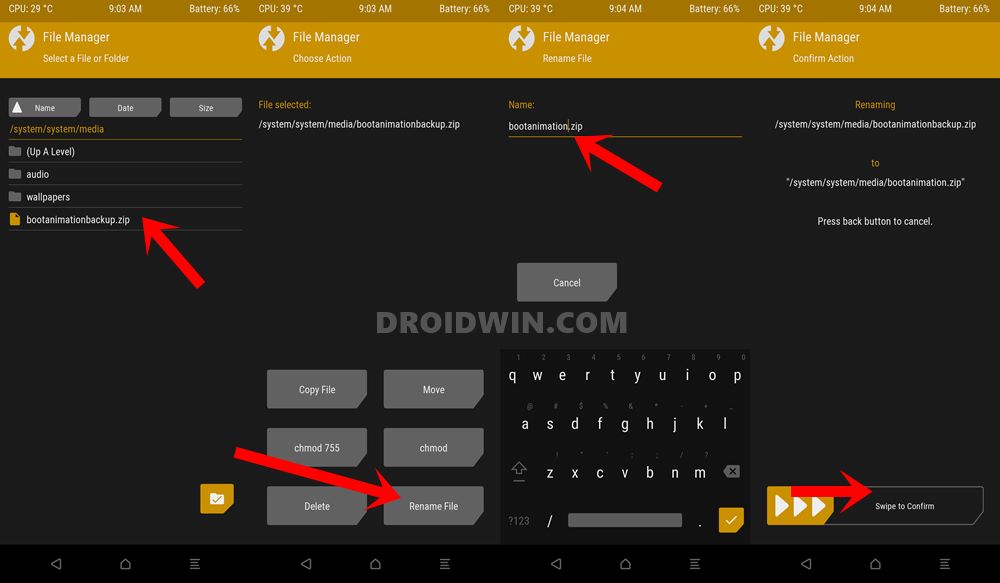
STEP 3A: Install Custom Boot Animation on Android via File Manager
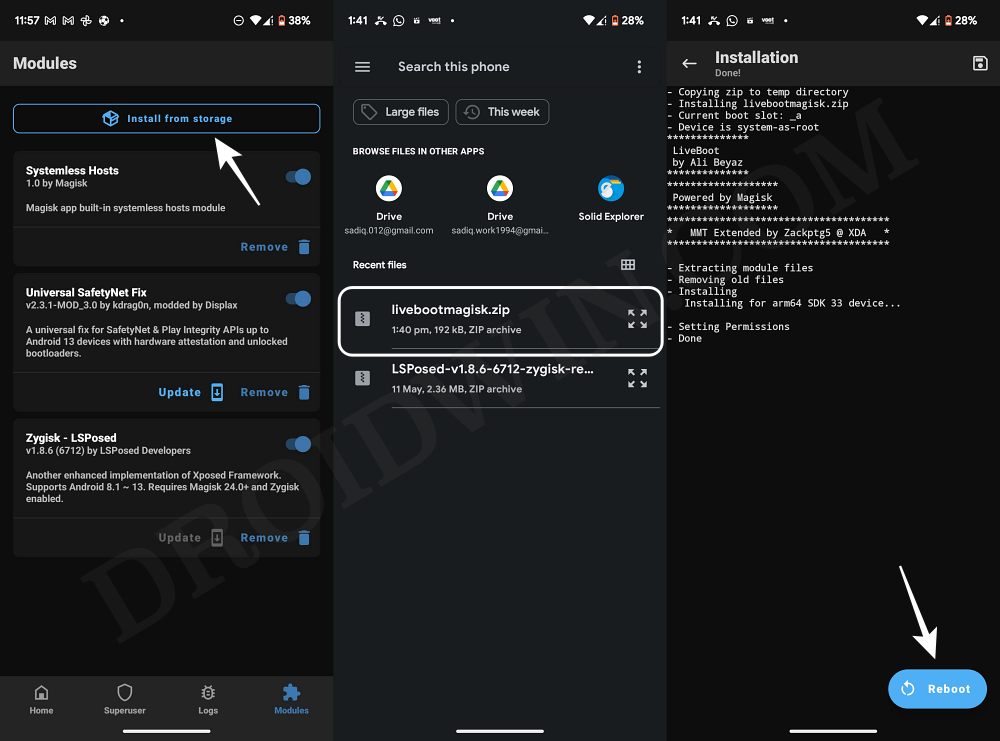
STEP 3B: Install Custom Boot Animation via Magisk
Newer boot animations come with support for flashing directly via Magisk. Not only it’s the easier of the two methods, but it’s mostly automated, you don’t have to manually transfer the file to the media partition nor do you have to change its permission. Everything will be taken care of by magisk itself. So with that in mind, let’s get started. That’s it. These were the two methods to change the boot animation on your Android device. Do let us know your preferred boot animation that you ultimately ended up applying on your device. Talking about which, if you have any queries with the instructions, do let us know in the comments section below. We will get back to you with a solution at the earliest. With that said, let’s now turn our attention towards the next section.
Fix adb server version doesn’t match this client; killing.How to fix ADB Device not found [List of Devices Attached is blank]Detailed Steps to Fix adb is not recognized ErrorHow to Fix Unauthorized Device with ADB Commands [3 methods]
How to Fix Bootloop after Changing Boot Animation
While the chances are extremely rare, but we should never say never when it comes to custom developments and bootloops! So if your device ends up in a bootloop after changing the boot animation, then there is quite an easy way out to fix it. here is what needs to be done: So this was all from this guide on how to fix bootloop on any Android device after installing a custom boot animation. Still, have any queries? Drop them in the comments below!
About Chief Editor